Hi guys! A little tangent to the Pretty Little Liars series that's going on right now I know. Someone asked me to do a foundation routine video but I had just got this new bareMinerals makeup so decided to add a review of that as well. This post will mainly be a review of my new makeup but If you'd like to see my foundation routine with other products that I use/used to use then visit my YouTube channel by clicking here.
BareMineral products are really good for your skin as they're all powders that you buff into your skin to increase the amount of coverage. They're light, thin and don't clog up your pores like foundation does so that helps to clear up your skin. On top of that It also contains chemicals that helps to clear blemishes and spots so you skin really does end up looking flawless. I decided to get this product after a friend of mine did as my skin was beginning to break out due to the cold weather, it's really cleared up since I've had it (about a week) so I'm really excited to carry on using it to clear my skin completely! I've not needed to apply foundation on top to increase coverage when I go out so my skin is extremely happy.
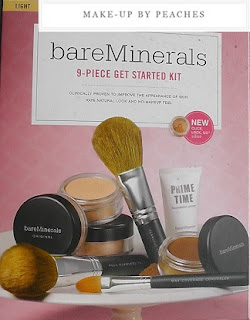 |
| Box slip showing the contents of the starting kit. |
I'm currently attempting to count the 9 pieces in the starter kit but can only come up with eight: 3 brushes, primer, 4 powders. I can only assume that they've sneakily added the starter kit DVD as one of the 'pieces' which honestly I haven't even opened. Despite this I think that for the price (Boots: £49) and the contents (8 pieces) this product is very good value and would definitely recommend it to anyone who wants to start using bareMineral products. Once you've got this kit you can just top up on products gradually as you run out of them so wont have to splash a lot of cash next time.
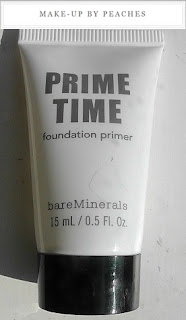 |
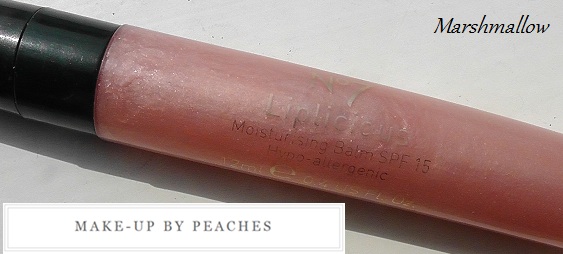
| Foundation/face primer. |
This see-through gel is a great primer as it blends and dries really quickly so you don't have to endure that horrible oily feeling you get after some primers. When I first saw this pot I laughed out loud as it's so tiny but a little really does go a long way! I use about a pea size amount a day and that easily covered my entire face making a lovely smooth canvas for me to buff my foundation into.
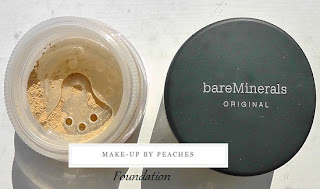 |
| Foundation (lightest shade of two). |
In the starter kit you get two foundations, one light and one fairly light (in the light kit obviously). I haven't used the fairly light foundation yet as the light shade is a perfect match to my skin. I use the smaller of the two face brushes to buff the foundation into my skin using tiny circular motions. The only downside is that it does take longer than normal foundation as your required to apply lots of little layers until you have the desirable coverage.
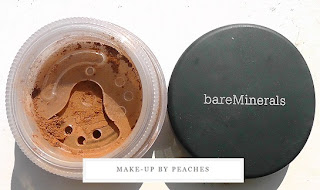 |
| Contour colour. |
I know this colour looks insanely dark for my skin tone! I was shocked when I saw it in the light kit but once applied it really isn't that dark. When you apply any of these powders to your face you really need to tap off the excess into the lid to prevent blotches forming all over your face. I apply this contour colour in a sort of '3' shape at the side of my face (temple, hollow of cheek and under the jaw line). This shapes the face really nicely and you don't require a blush after as it looks perfectly natural without.
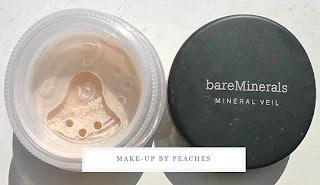 |
| Finishing powder. |
I use the larger brush to apply this finishing powder as it covers the whole face a lot quicker. I'm pretty sure this is the powder i'll use up first as it's really satisfying to cover your face completely with it, it's pretty much see through so doesn't give you that dreadful cakey look. Again you need to tap of the excess in the lid to make sure you get an even spread of powder on the brush and therefore on your face. Apart from mascara you really don't need anything else for a natural day-to-day look once you've completed all these steps.
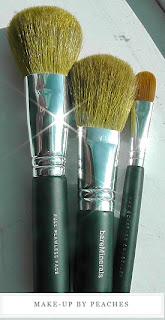 |
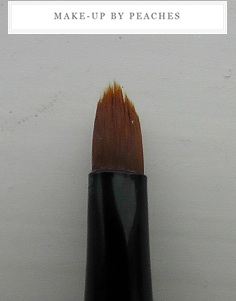
| Three brushes provided in the starter kit. |
I don't apply concealer very often so don't really need the concealer brush provided but the other two brushes are great. They're huge so are able to cover the face pretty quickly, the smaller one has a more pointed end so you can buff the foundation better and apply the contour colour slightly more precisely. The huge face brush is really rounded so great for a full-face blast of finishing powder at the end.
I hope you enjoyed this post and that it was helpful to anyone who thinking of getting this product. I really do recommend it. If you'd like to see the video click here, please subscribe to my channel and like the video and follow my blog also. Much love, Peaches X